Showing posts with label tutorial. Show all posts

Friday, June 3, 2011

Changing Orientation Tutorial

One of my favorite ways to make a second page for a side by side layout or to make a new look with the same quick page is to change the orientation.

Today, I am going to show you how easy it is to do this.

Step 1: Open Photoshop or Photoshop Elements (or like program)
I am going to use Photoshop Elements. 

Step 2: Open the Image You Want to Change
I am going to open my Sea Breeze Quick Page.
Step 3: Click Image, Rotate, Rotate 90 Right
Step 4: Save Your Changes (File, Save As)
Now, I am going to use an element from my Sea Breeze kit (cool brad) to complete this quick page.
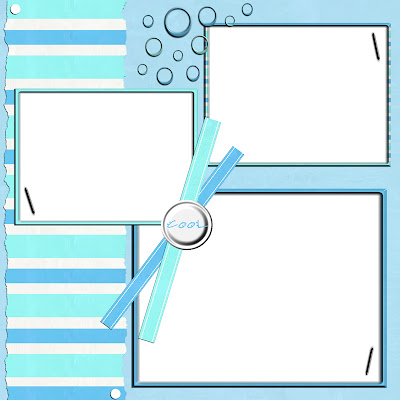
There you go - a new look in just a few steps.  To make a girly version, I am going to follow the steps in my Changing Colors Tutorial, but instead of changing it to +60, I am going to change it to +180.
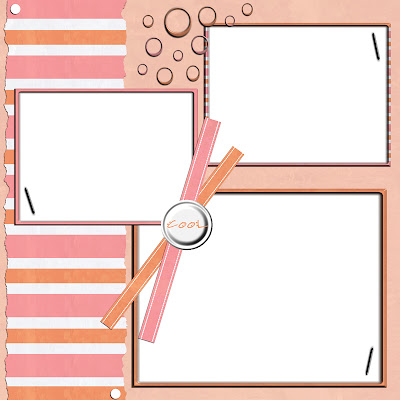
 *Download Links Expired*

Tuesday, March 22, 2011

Changing Colors Tutorial

One of my favorite features of Photoshop/Photoshop Elements is the ability to change the color of my quick pages, papers, elements, alphabets, etc.

Today, I am going to show you how easy it is to do this.

Step 1: Open Photoshop or Photoshop Elements (or like program)
I am going to use Photoshop Elements.

Step 2: Open the Image You Want to Change
I am going to open my Lucky in Love Quick Page.
Step 3: Click Enhance, Adjust Color, Adjust Hue/Saturation (or Ctrl + U for PC / Cmd + U for Mac)

Step 4: Move the Hue Slider Left and Right Until You Find the Perfect Color Change
I am going to move the slider to +60 (right 60).

Step 5: Save Your Changes (File, Save As)

 
Now, I am going to use elements from my Lucky in Love kit (black label) and elements (tag, spider, tree, bat, flower, brad, ribbon) from my Spooktacular Black kit to make this newly colored quick page a Halloween quick page.


There you go - a new look in just a few steps.

If you want the quick page, click on the image.
 
1